
How we make speed axles
We will discuss how we made our axles prior to utilizing CNC cutting and proprietary nail straightening. This is how you can do it at home with very little tooling and still get great results. Substitute a drill clamped horizontal for a lathe. Using a vertical drill press can be utilized, but it is very hard to give proper pressure and control.
Making BSA axles into speed axles is an art and process. You have to have very specialized tooling to do it correctly as well as efficiently. This is the method that we followed and then tweaked to your liking. It’s a very good start, although the visuals could have been a little better. We didn’t own a go pro at the time.
To start off you are going to need 3x the amount of axles that you need. If you are making one car, then we suggest a dozen axles. If you don’t want to purchase 2 extra set of wheels and axles, then you can visit this store to get them by the dozens.
The reason being is that you only want to attempt to fix the ones that are the straightest. It seems that the axles just might be purposely bent…
Tools Needed
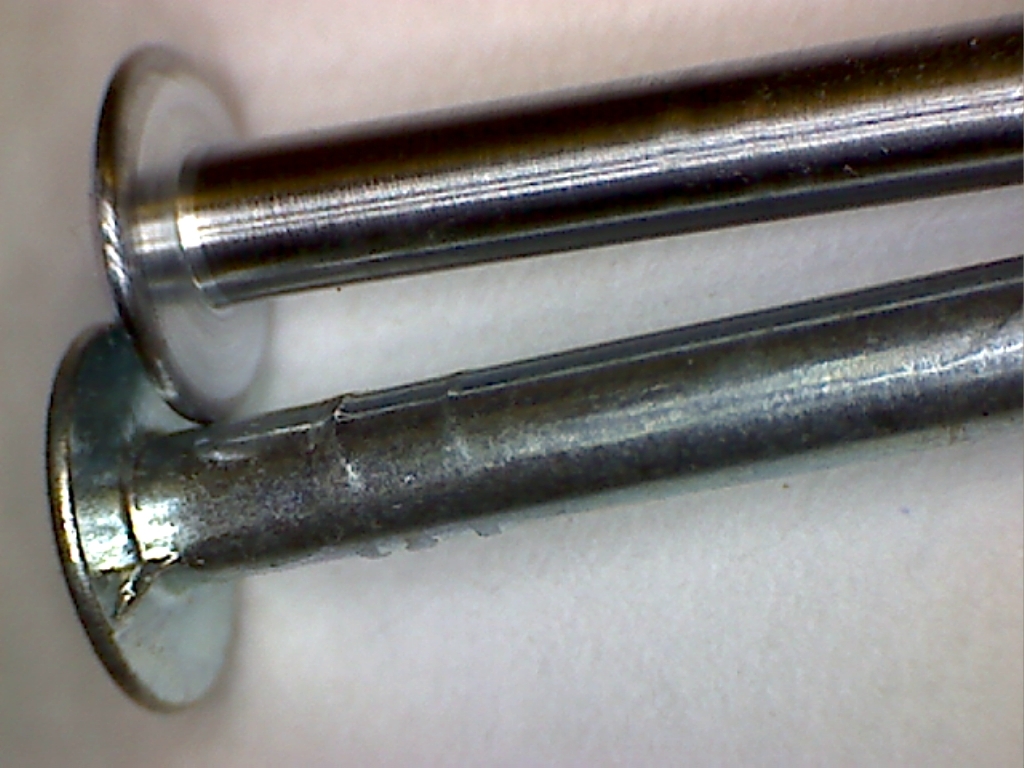
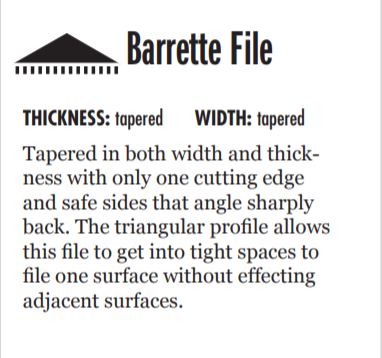
- File–the finer the cut the better. The key is to remove the burrs and crimps without reducing the diameter of the axle. We used this file for the longest time. I suggest a barratte file #00 cut.
- Sandpaper-wet-400 grit through the sky is the limit…. we like 2000 for dry lube. 60,000 grit for oil
- Derby Worx Pro Axle Press–a must for straightening an axle
- Metal “bucking” bar to support your sandpaper while sanding. Just anything that is hard and flat about 1/2″ in width. We prefer this method over the sawing the paper back and forth across the axle.
- Baster of some sort to add water.
- Bowl to catch water from wet sanding
- Clean strip of cloth material to clean each stage of sanding. YES each stage needs its own cloth. You can NOT share with another stage. NOT MICROFIBER! Microfiber will grip a turning axle and cause cause harm to you. They just have too much surface area. You can even use a thick cotton string to do the trick.
- Your going to need a hammer
- Proper safety equipment
- Some sort of drill, drill press, or lathe. NO DREMEL!!!!! Spins / removed material too aggressively.
- Metal sealant/wax of some sort to keep your new polish job from rusting. Do your research to find the DIY. Most like some kind of jewelry rouge or wax based car polish. We have our own special sealant and it’s not one of those.